Environment Setup
The whole analysis and exploitation will been done in a virtual environment for the ease of access and debugging.
Hardware Requirements
- 40 GB free hard drive space
- 8 GB+ of RAM
- Multi-core processor
Software Requirements
For this workshop, we will need to install the below given items in Ubuntu 18.04 LTS host machine. However, Windows, Mac OSX and other OS are also supported.
- GDB
- Workshop Repository
- Android Studio
- Android NDK
- Android Virtual Device
- Android Kernel Source Code
GDB
Open a terminal window and type the below given command to verify if GDB is installed. We will need GDB compiled with python 2.7 support.
ashfaq@hacksys:~$ gdb --version
GNU gdb (GDB) 8.2
Copyright (C) 2018 Free Software Foundation, Inc.
License GPLv3+: GNU GPL version 3 or later <http://gnu.org/licenses/gpl.html>
This is free software: you are free to change and redistribute it.
There is NO WARRANTY, to the extent permitted by law.

ashfaq@hacksys:~$ gdb -quiet
GEF for linux ready, type `gef' to start, `gef config' to configure
77 commands loaded for GDB 8.2 using Python engine 2.7
[*] 3 commands could not be loaded, run `gef missing` to know why.
gef> py
>import sys
>print sys.version_info
>end
sys.version_info(major=2, minor=7, micro=17, releaselevel='final', serial=0)
gef> q

ashfaq@hacksys:~$ readelf -d $(which gdb) | grep python
 0x0000000000000001 (NEEDED)             Shared library: [libpython2.7.so.1.0]

ashfaq@hacksys:~$ python --version
Python 2.7.17
If GDB is not installed in your system, please make sure to install it with python 2.7 support.
Workshop Repository
Open a terminal window and type the below given command to clone the workshop repository.
ashfaq@hacksys:~$ git clone https://github.com/cloudfuzz/android-kernel-exploitation ~/workshop
Android Studio
Installation instruction for Android Studio can be found here https://developer.android.com/studio/install
Once Android Studio is installed, make sure to add ~/Android/Sdk/platform-tools and ~/Android/Sdk/emulator to your PATH environment variable. This will allow as to access adb and emulator command without specifying the complete path.
Android NDK
Installation instruction for Android NDK can be found here https://developer.android.com/studio/projects/install-ndk
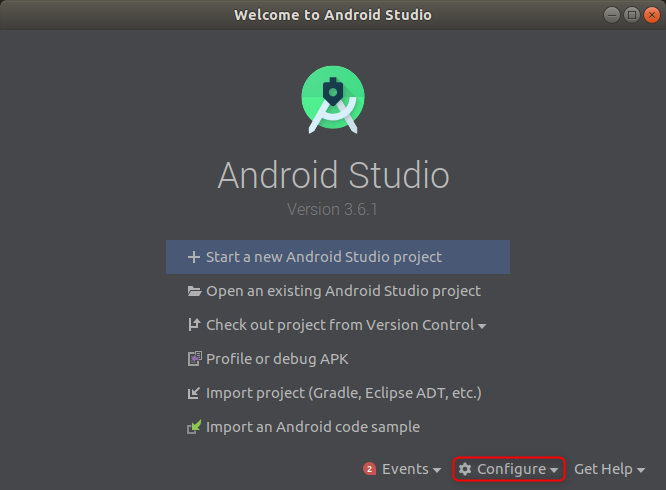
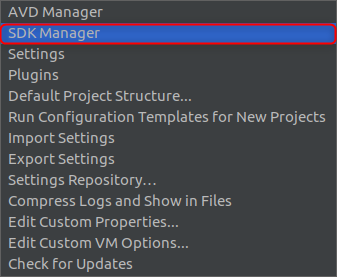
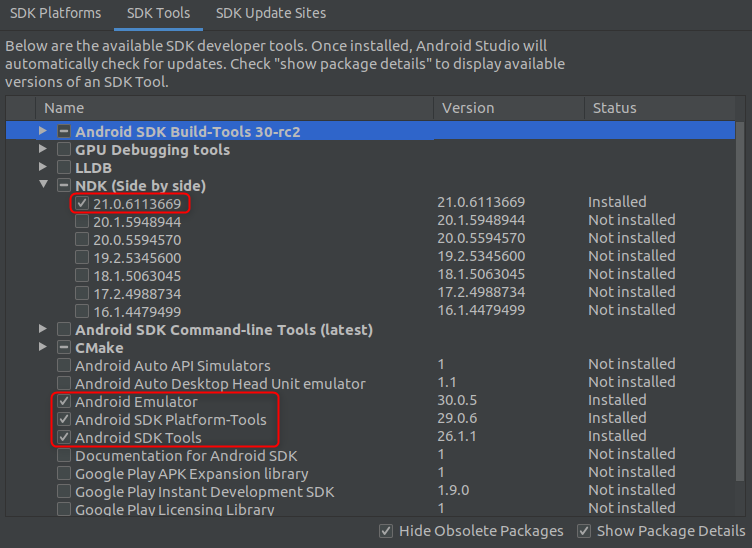
I'm currently using Android NDK version: 21.0.6113669. However, the latest version of the Android NDK should be fine.
Android Virtual Device
For this workshop, we are going to use Android 10.0 (Q) Google Play Intel x86 Atom_64 System Image.
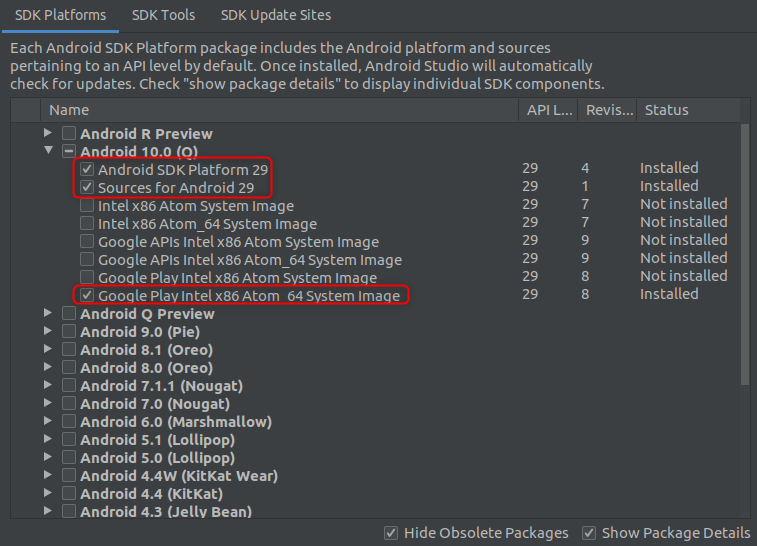
Once you have downloaded the system image, we will have to create a Virtual Device.
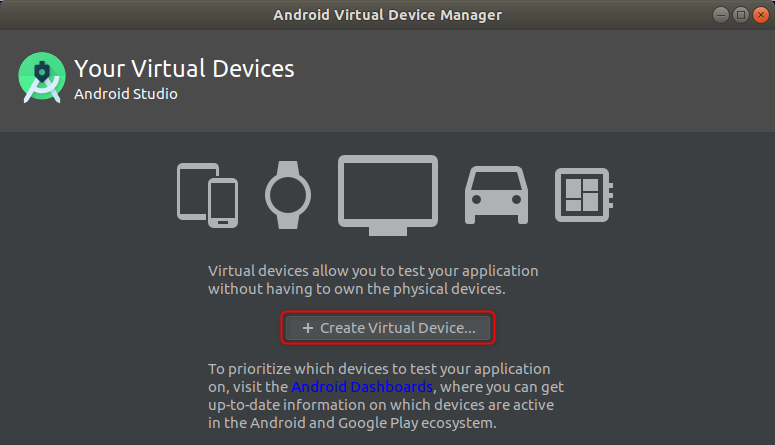
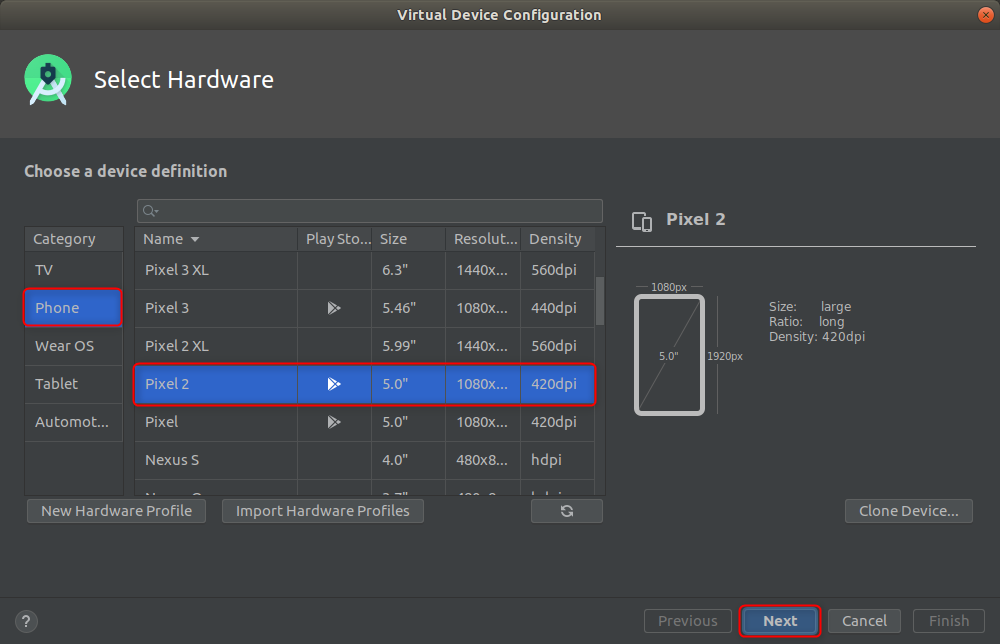
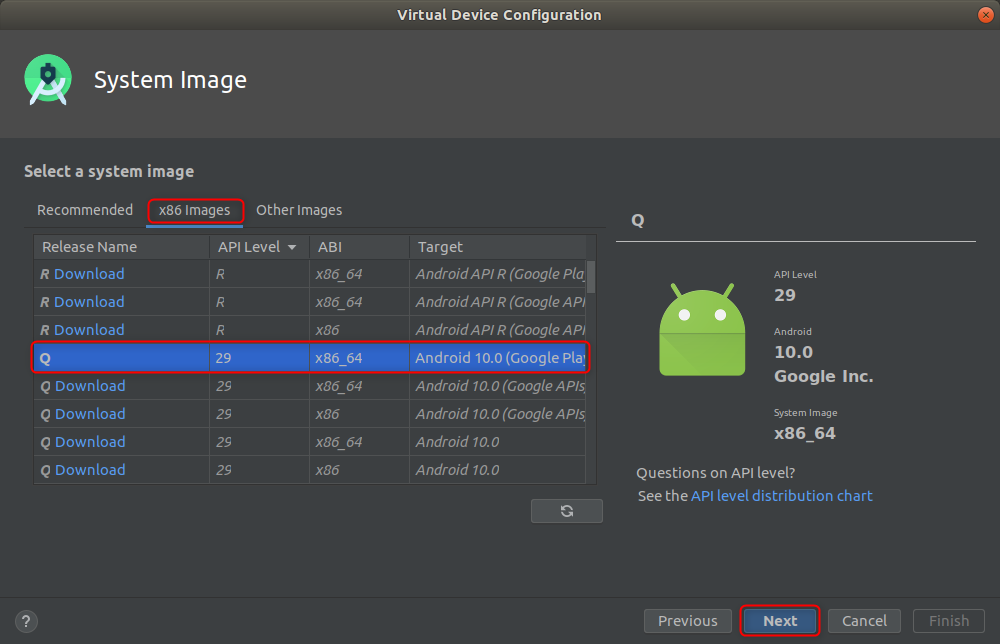
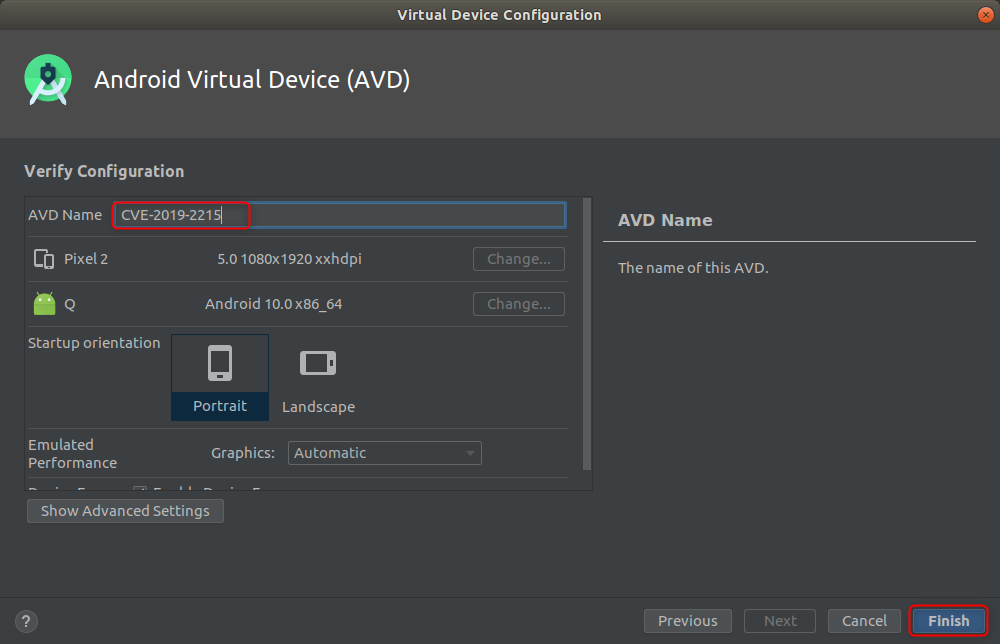
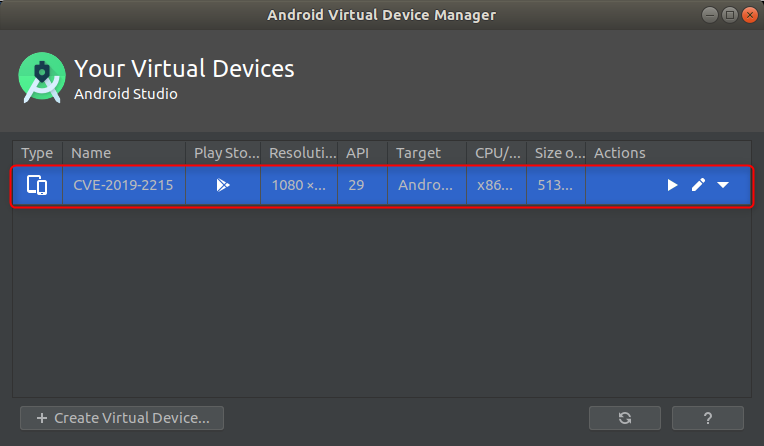
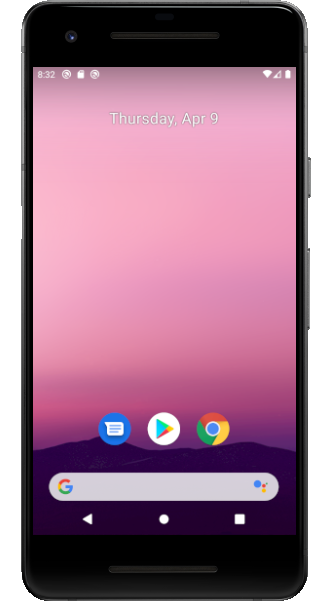
You can also launch the virtual device that we created from the command line.
ashfaq@hacksys:~/workshop$ emulator -avd CVE-2019-2215
Android Kernel Source Code
Android is powered by Linux kernel. For this workshop, we are going to use q-goldfish-android-goldfish-4.14-dev branch of the Android kernel source repository.
Note: For more information on building custom kernels for Android visit https://source.android.com/setup/build/building-kernels
Google suggests to use repo for synchronizing the kernel source tree. Read more about repo here: https://gerrit.googlesource.com/git-repo/+/refs/heads/master/README.md
Once repo has been installed, you can now start synchronizing the kernel source tree. This will also download the necessary build tools.
We do not want to download the repository with all the commit history and different branches. So, we will do a shallow clone.
Currently, I'm on 182a76ba7053af521e4c0d5fd62134f1e323191d commit id and repo command does not allow us to specify a commit id to clone from command line. So, I have created a custom manifest file that we will replace after the repo has been initialized.
<?xml version="1.0" encoding="UTF-8"?>
<manifest>
  <remote  name="aosp" fetch=".." review="https://android-review.googlesource.com/" />
  <default revision="master" remote="aosp" sync-j="4" />
  <project path="build" name="kernel/build" revision="master" />
  <project path="goldfish" name="kernel/goldfish" revision="182a76ba7053af521e4c0d5fd62134f1e323191d" />
  <project path="kernel/tests" name="kernel/tests" revision="master" />
  <project path="prebuilts/gcc/linux-x86/aarch64/aarch64-linux-android-4.9" name="platform/prebuilts/gcc/linux-x86/aarch64/aarch64-linux-android-4.9" clone-depth="1" />
  <project path="prebuilts/gcc/linux-x86/x86/x86_64-linux-android-4.9" name="platform/prebuilts/gcc/linux-x86/x86/x86_64-linux-android-4.9" clone-depth="1" />
  <project path="prebuilts-master/clang/host/linux-x86" name="platform/prebuilts/clang/host/linux-x86" clone-depth="1" />
</manifest>
The only change I did in this custom manifest was to specify the commit hash in the revision attribute instead of branch name.
6c6
<   <project path="goldfish" name="kernel/goldfish" revision="android-goldfish-4.14-dev" />
---
>   <project path="goldfish" name="kernel/goldfish" revision="182a76ba7053af521e4c0d5fd62134f1e323191d" />
Note: It will take around 12 GB of disk space, so make sure you have enough space on the machine before running the below commands.
ashfaq@hacksys:~$ mkdir ~/workshop
ashfaq@hacksys:~$ cd workshop/
ashfaq@hacksys:~/workshop$ mkdir android-4.14-dev
ashfaq@hacksys:~/workshop$ cd android-4.14-dev/
ashfaq@hacksys:~/workshop/android-4.14-dev$ repo init --depth=1 -u https://android.googlesource.com/kernel/manifest -b q-goldfish-android-goldfish-4.14-dev
ashfaq@hacksys:~/workshop/android-4.14-dev$ cp ../custom-manifest/default.xml .repo/manifests/
ashfaq@hacksys:~/workshop/android-4.14-dev$ repo sync -c --no-tags --no-clone-bundle -j`nproc`
Once the source tree has been synchronized, we are good to proceed with the workshop.